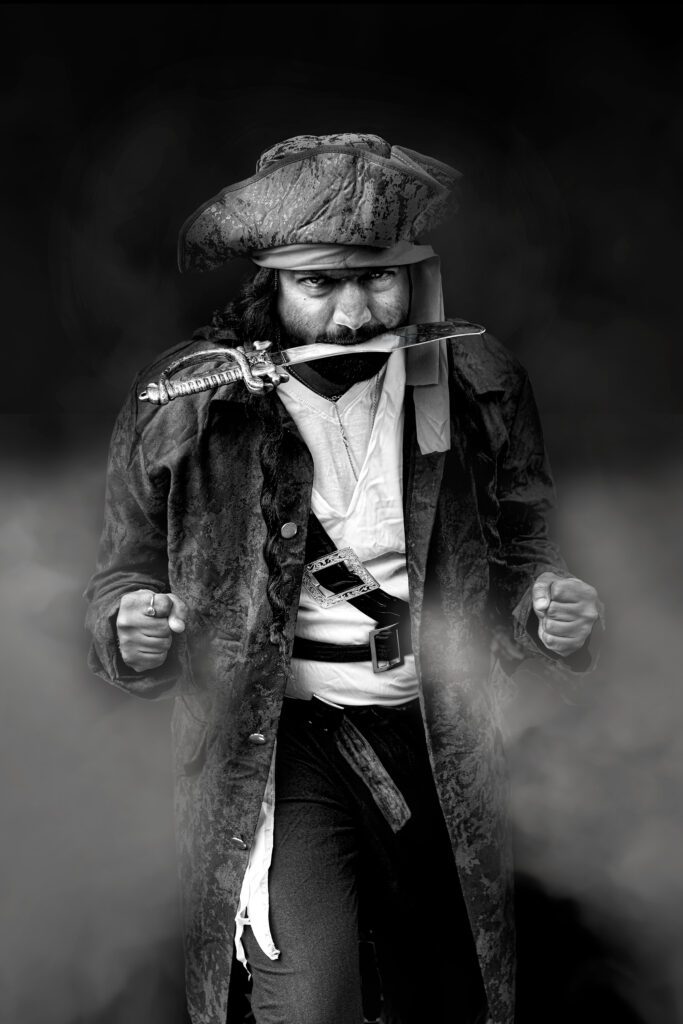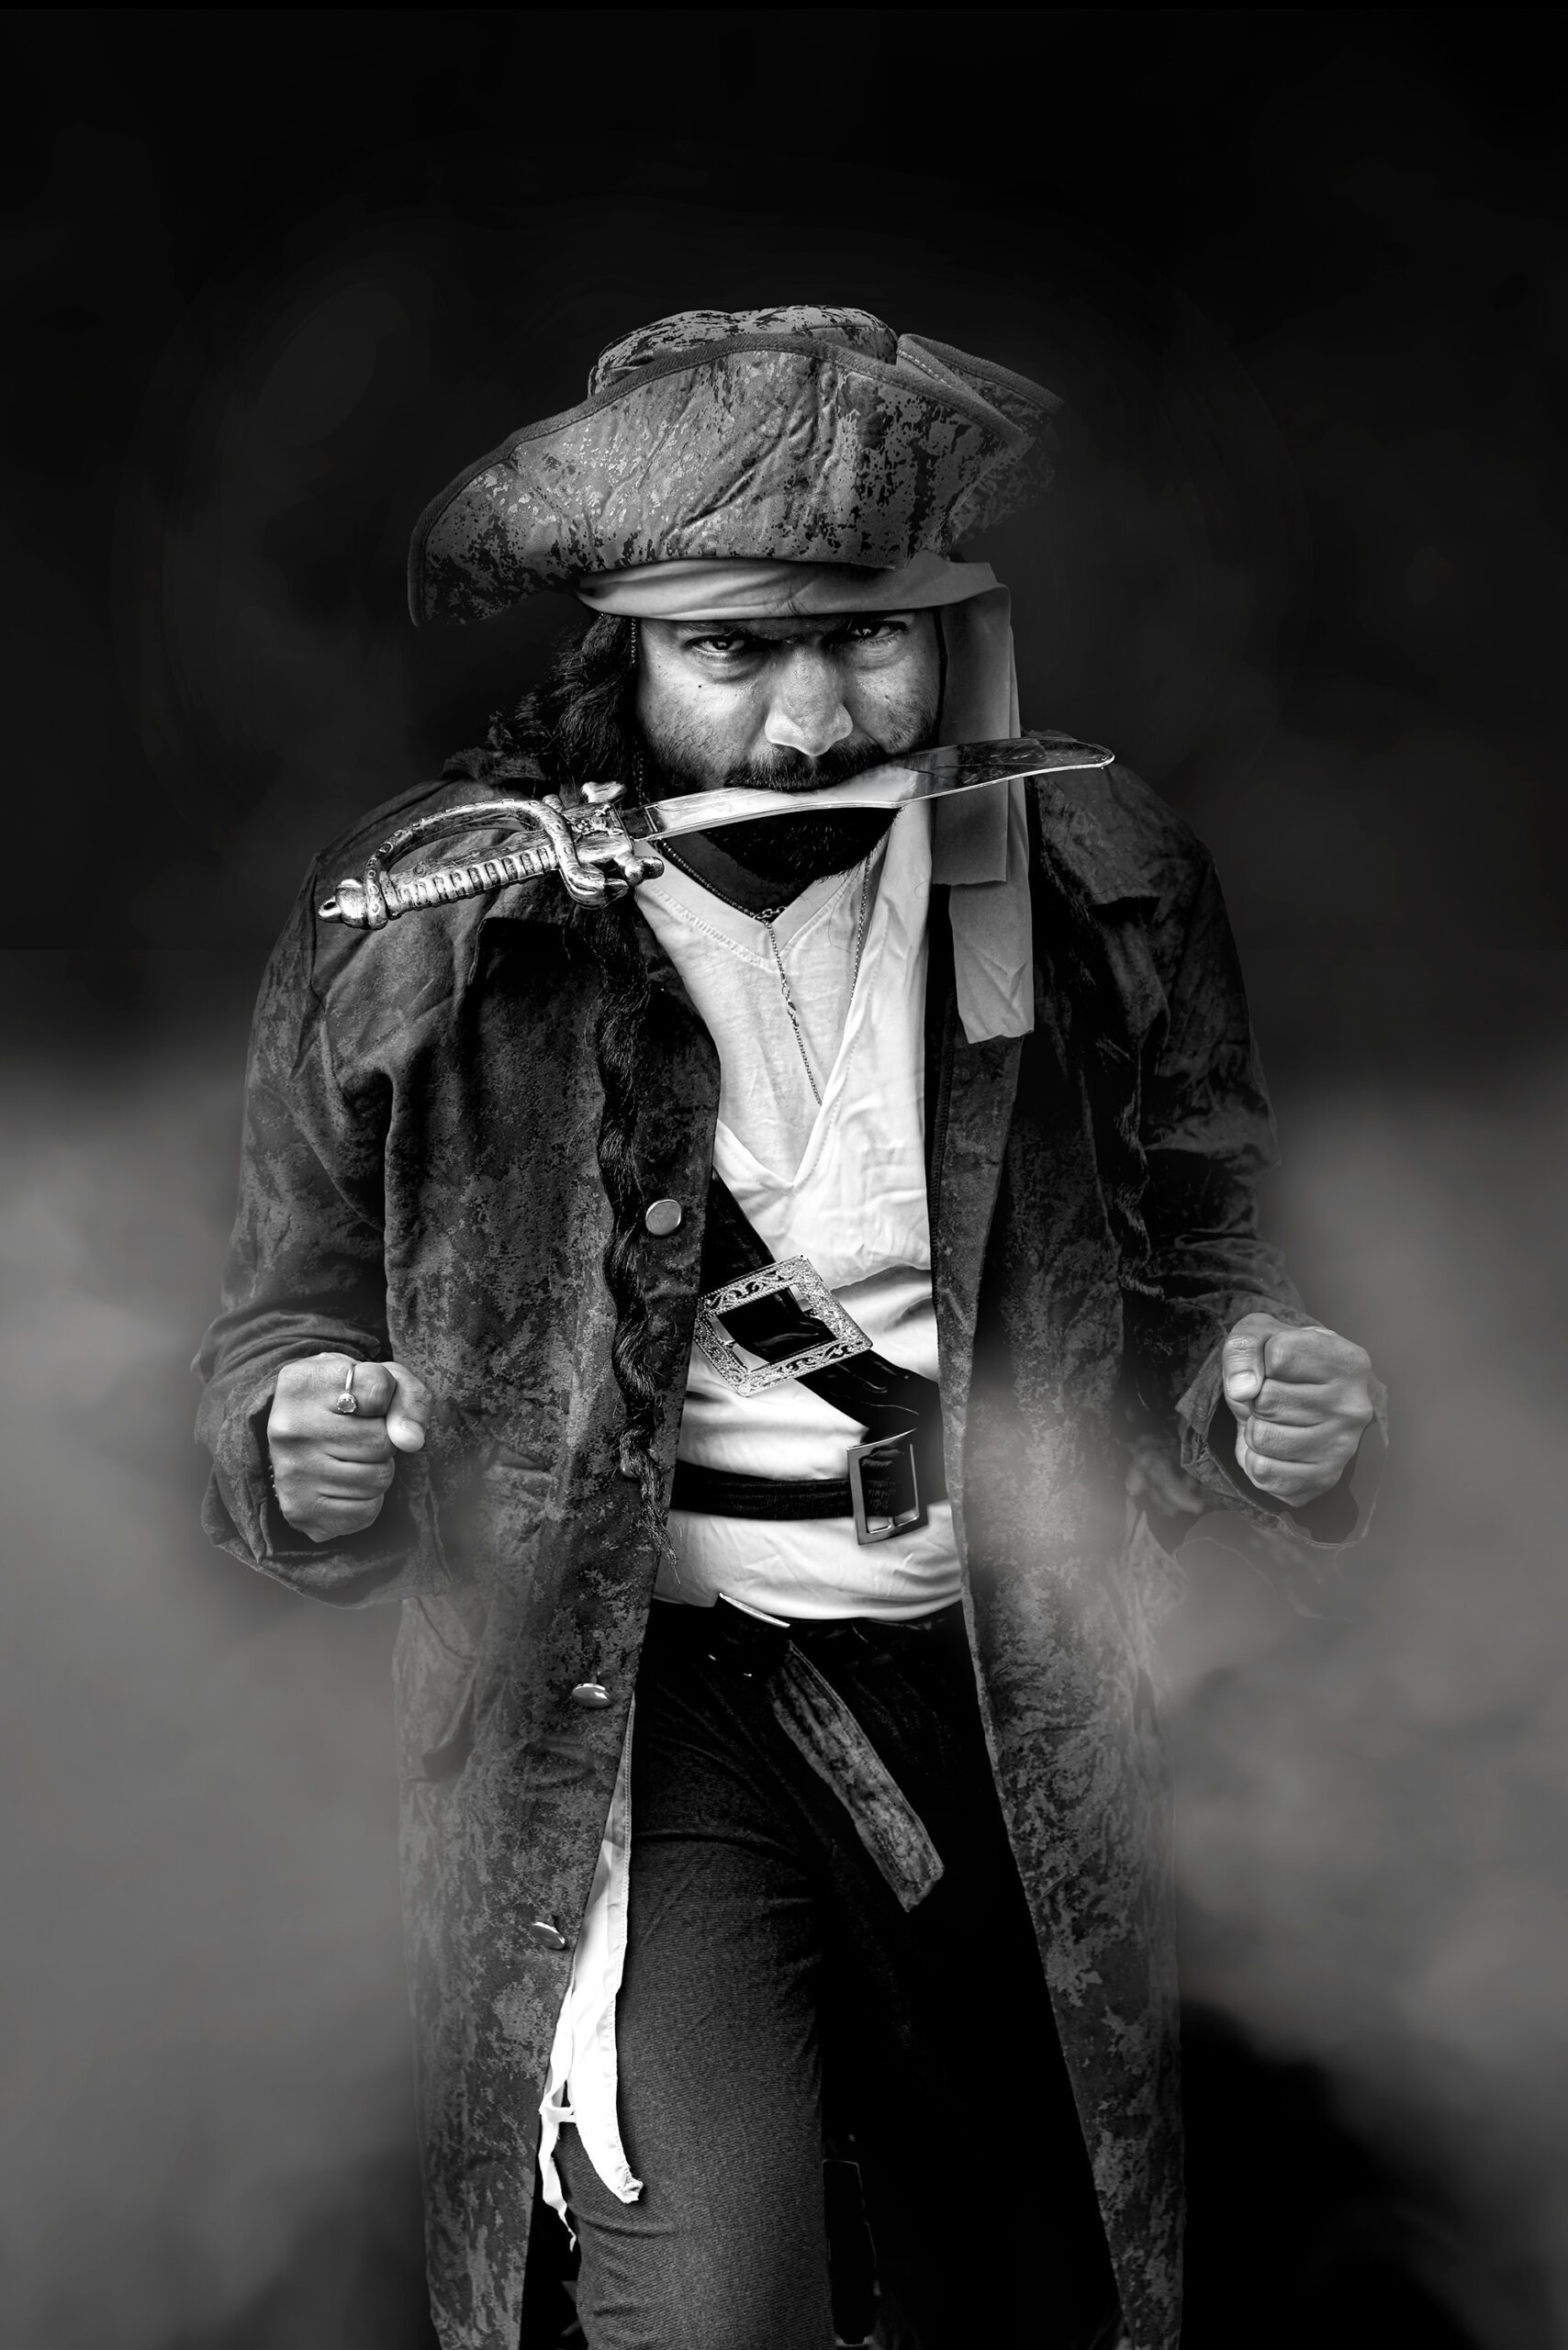
In this tutorial, inspired by the enclosed image of a fierce pirate poised for action, I’ll guide you step-by-step to create a breathtaking black-and-white portrait that feels cinematic, textured, and alive. Using Luminar Neo, we’ll leverage curve layers, radial gradients, and selective adjustments to sculpt light and shadow, enhancing the 3D impact and storytelling of the image. Let’s bring this pirate to life, Scott Kelby-style, with tips and tricks to make your editing workflow a breeze.
Step 1: Analyzing the Image
When editing a portrait like this one—full of character, mood, and drama—you need to assess:
- Light and Shadow: The facial expression, hat, textures, and sword provide excellent contrast opportunities.
- Composition: The tight crop focuses on the pirate’s intensity, but we’ll enhance it further with gradients and vignettes.
- Textures: From the pirate’s coat to the sword, texture is everything. We’ll boost it to emphasize detail.
Step 2: Start with the Base Conversion
- Load the Image: Open your pirate photo in Luminar Neo.
- Convert to Black and White:
- Go to the Black & White Tool.
- Use the Luminance sliders to control brightness. For example:
- Darken the reds to deepen skin shadows and enhance intensity in the face.
- Brighten the blues slightly for highlights on the sword and clothing texture.
Step 3: Sculpt Light Using Curves
The curves tool is perfect for adding controlled contrast and shaping light directionally.
- First S-Curve:
- Add a slight S-curve to increase overall contrast. Drag the shadows down and push highlights up for dramatic depth.
- Selective Curves Adjustments:
- Duplicate the curves layer and mask it onto specific areas:
- Face: Lift mid tones to bring focus to the pirate’s eyes and expression.
- Sword: Add more highlight to the blade for a reflective, gleaming look.
- Coat: Darken shadows slightly to emphasize the rich texture.
- Duplicate the curves layer and mask it onto specific areas:
- Pro Tip: Use a brush or radial mask to paint light only where needed. This prevents your adjustments from flattening the overall image.
Step 4: Highlight the Subject with Radial Gradients
To enhance the 3D effect and draw attention to the pirate’s face and sword:
- Place Radial Gradients:
- Create a radial mask over the face and sword area.
- Lighten the exposure or highlights subtly to pull the viewer’s focus in.
- Feather the gradient heavily to ensure soft transitions.
- Add Depth to the Edges:
- Place a more significant radial gradient over the edges of the frame and reduce exposure slightly. This creates a natural vignette, pushing the viewer’s eye toward the centre.
- Layer Multiple Gradients:
- For added realism, stack gradients to mimic directional light:
- Brighten the face and centre of the chest slightly.
- Darken the hands and edges of the coat.
- For added realism, stack gradients to mimic directional light:
Step 5: Enhance Textures and Details
The pirate portrait thrives on sharp details and textures. Here’s how to bring them out:
- Details Enhancer Tool:
- Increase Small Details to sharpen the hat, coat, and sword textures.
- Use a mask to avoid enhancing skin too much (to keep it realistic).
- Structure AI:
- Push the Structure AI slider to boost clarity in mid-tones. This is excellent for grungy clothes and the metallic shine of the sword.
- Dodge and Burn:
- Dodge (lighten) the highlights on the sword blade and along the cheekbones.
- Burn (darken) the shadows in the pirate’s coat folds and hat edges for more drama.
Step 6: Fine-Tune for a Cinematic Look
The goal is to create a finished image that feels sharp, bold, and movie-poster worthy.
- Vignette:
- Add a subtle vignette under the Vignette tool to frame the subject and further enhance focus.
- Sharpen Selectively:
- Use Luminar Neo’s Sharpening Tool on the sword and eyes for a crisp focal point.
- Mask out areas like the background to keep the viewer’s eye on the pirate.
- Glow Effect (Optional):
- Add a slight glow to highlights on the face or sword to add cinematic flair for a soft yet dramatic sheen.
Step 7: Final Check and Export
- Zoom Out: Step back and view the image as a whole. Adjust exposure or curves if needed.
- Export:
- Save your final black-and-white pirate masterpiece as a high-resolution JPEG or TIFF.
Pro Tips for Dramatic Portraits
- Focus on the Eyes: Always ensure the subject’s eyes are sharp—they’re the emotional anchor.
- Shape the Light: Use gradients and curves to “paint light” strategically.
- Textures Matter: Enhance clothing and props to add realism and drama.
- Mood is Key: For portraits like this, darkening the background and edges adds intensity.
Final Words
By following these steps in Luminar Neo, you’ll transform an already powerful pirate portrait into a black-and-white masterpiece brimming with texture, depth, and storytelling. From curves and radial gradients to detail enhancement, every adjustment is designed to guide the viewer’s focus, create dimension, and amplify the drama.
Now it’s your turn—grab an epic portrait, fire up Luminar Neo, and bring your subject to life with these pro techniques! 🏴☠️

