
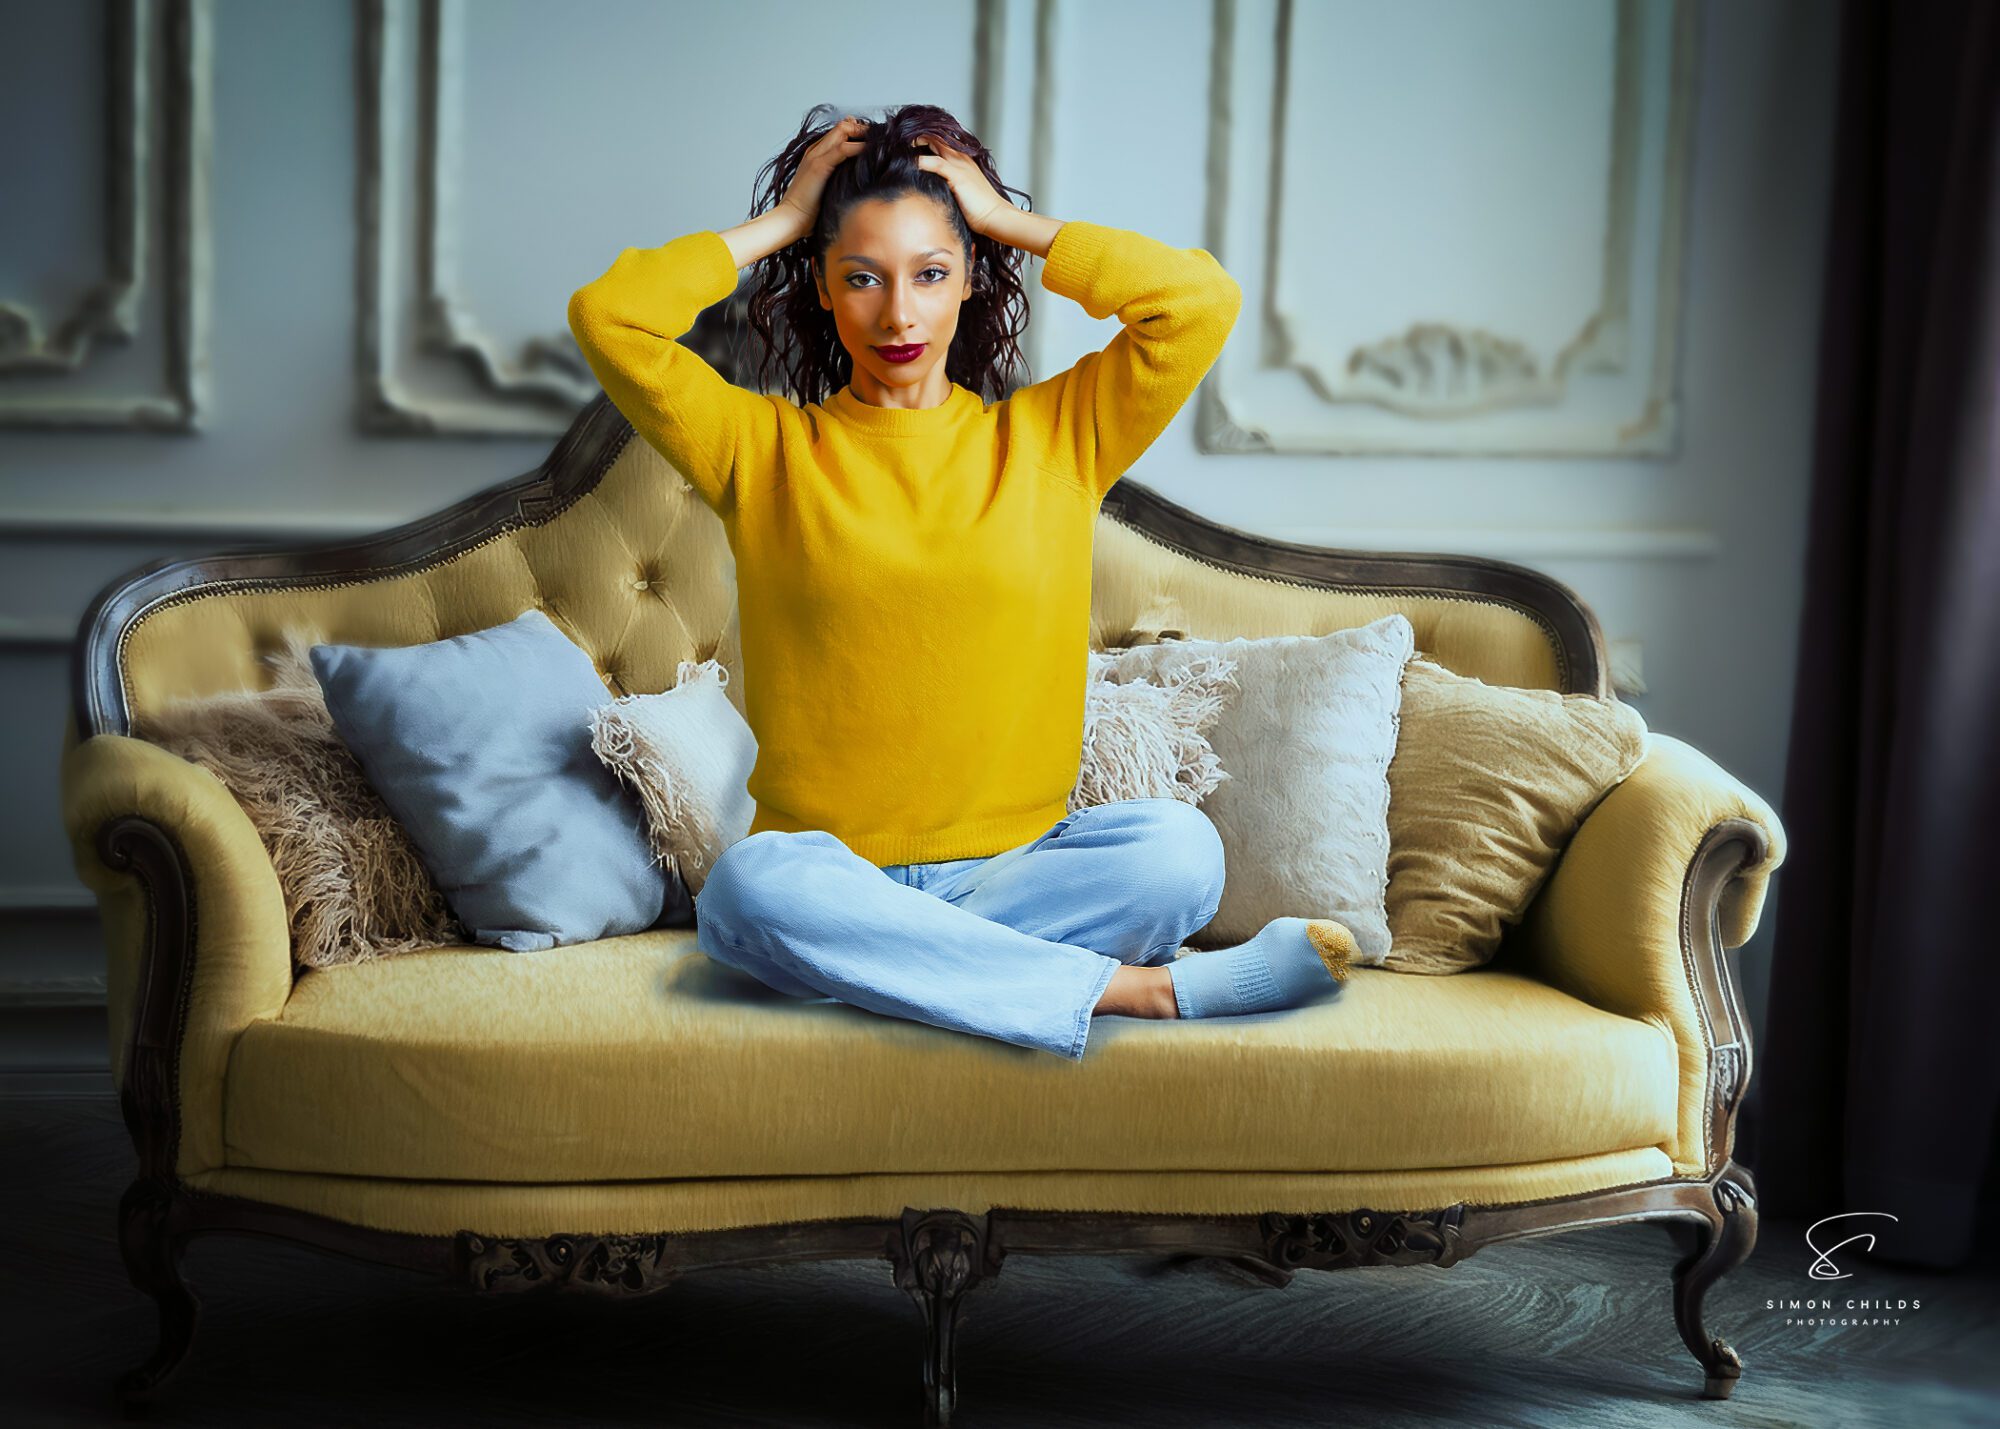

Sony A7R V | Dual Godox Battery Strobes | Beauty Dish & Strip Box Lighting
Blending real photography with AI-generated backgrounds is a powerful way to create professional, dynamic portraits. AI-generated background photography allows photographers to expand creative possibilities without the need for elaborate sets. In this tutorial, you will learn how to seamlessly integrate a real model with an AI-generated environment using Luminar Neo.
For this setup, the model was photographed with a Sony A7R V, using a dual Godox battery-powered strobe system. The beauty dish served as the key light, while a strip box added separation and depth. The background and sofa were generated using AI, with a reference image of the model ensuring a realistic composite.
1. AI-Generated Background Photography: Capturing the Model with Proper Lighting
Camera Setup (Sony A7R V)
Using the right camera settings is essential for a clean, professional look. For example, a medium aperture ensures the model remains sharp while allowing for some background isolation.
- Lens: 85mm f/1.8 (ideal for portraiture)
- Shutter Speed: 1/200s (syncs with strobes)
- Aperture: f/5.6 (provides clarity with moderate background blur)
- ISO: 100 (minimizes noise and maximizes image quality)
Lighting Setup
Lighting plays a crucial role in achieving a professional result. Therefore, careful placement of light sources is necessary to shape the subject properly.
- Key Light: A beauty dish positioned 45 degrees to the model’s right creates soft, directional light that enhances facial structure.
- Fill Light: A strip box placed behind and to the left adds subtle rim lighting, which improves separation from the background.
Background Considerations
Since the background will be replaced in post-production, it is important to photograph the model against a neutral-colored backdrop, such as gray or green. As a result, masking becomes significantly easier during editing.
2. Editing AI-Generated Background Photography in Luminar Neo
Importing & Prepping the RAW File
Before making adjustments, it is essential to ensure the image is properly exposed. For example, skin tones should appear natural, with highlights and shadows balanced.
- Open Luminar Neo and import the RAW file.
- Adjust Exposure, White Balance, and Contrast for accurate colors.
- Use the Details Enhancer tool to refine textures without over-sharpening.
3. Using AI Masking for Background Removal in AI-Generated Photography
One of the key advantages of AI-generated background photography is that you can remove and replace backgrounds effortlessly. For instance, Luminar Neo provides an advanced AI masking tool that automates most of the process.
- Go to the Layers Panel and duplicate the original image.
- Use the Background Removal AI tool:
- Select “Subject” AI Masking to isolate the model.
- Fine-tune the mask using the Refine Edge tool, especially around the hair.
- Apply the Cutout so that the model remains on a transparent background.
4. Creating & Blending AI Backgrounds for Professional Portraits
Generating the Background
Instead of using a traditional backdrop, AI-generated images allow for endless creative possibilities. For example, software like MidJourney, DALL·E, or Stable Diffusion can create photorealistic environments based on text prompts.
To generate a suitable background:
- Enter a prompt such as “Classic vintage sofa in an elegant, softly lit studio with a neutral color scheme.”
- Generate multiple variations and select the most suitable one.
- Upscale the AI image to ensure high resolution.
Blending the Model with the AI Background in Luminar Neo
Now that the AI background is ready, it is important to integrate the model naturally. As a result, color and lighting must be adjusted to match both elements.
- Import the AI-generated background as a new layer beneath the model.
- Use the “Harmonization” tool to match tones between the model and background.
- Adjust Shadows & Highlights to maintain realistic depth.
- Apply the Glow & Film Grain tools to unify the textures for a seamless look.
5. Final Adjustments for Seamless AI-Generated Background Photography
Color Grading & Tonal Adjustments
- Use Curves & LUTs to ensure color consistency.
- Adjust Saturation & Vibrance to enhance natural tones.
- Apply Dodge & Burn selectively to enhance depth and contrast.
Final Touches
- Add a slight vignette to draw focus toward the subject.
- Use the Portrait Bokeh AI tool to subtly blur the background for added realism.
- Fine-tune sharpness with the Structure AI tool for a polished final image.
6. Exporting the Final Image
Once the image is complete, make sure to export it in high resolution for optimal quality. For example, a 16-bit TIFF is ideal for professional use, while a high-quality JPEG works well for online sharing.
- Export as 16-bit TIFF for print or JPEG (100% quality) for web use.
- Resize to 2048px on the longest side for social media without losing detail.
Conclusion
AI-generated background photography is a powerful tool for photographers looking to expand their creative possibilities. By combining real photography with AI-generated elements, you can create professional, high-quality portraits with minimal setup. With Luminar Neo, the process becomes efficient, allowing for seamless background replacements that look natural and polished.