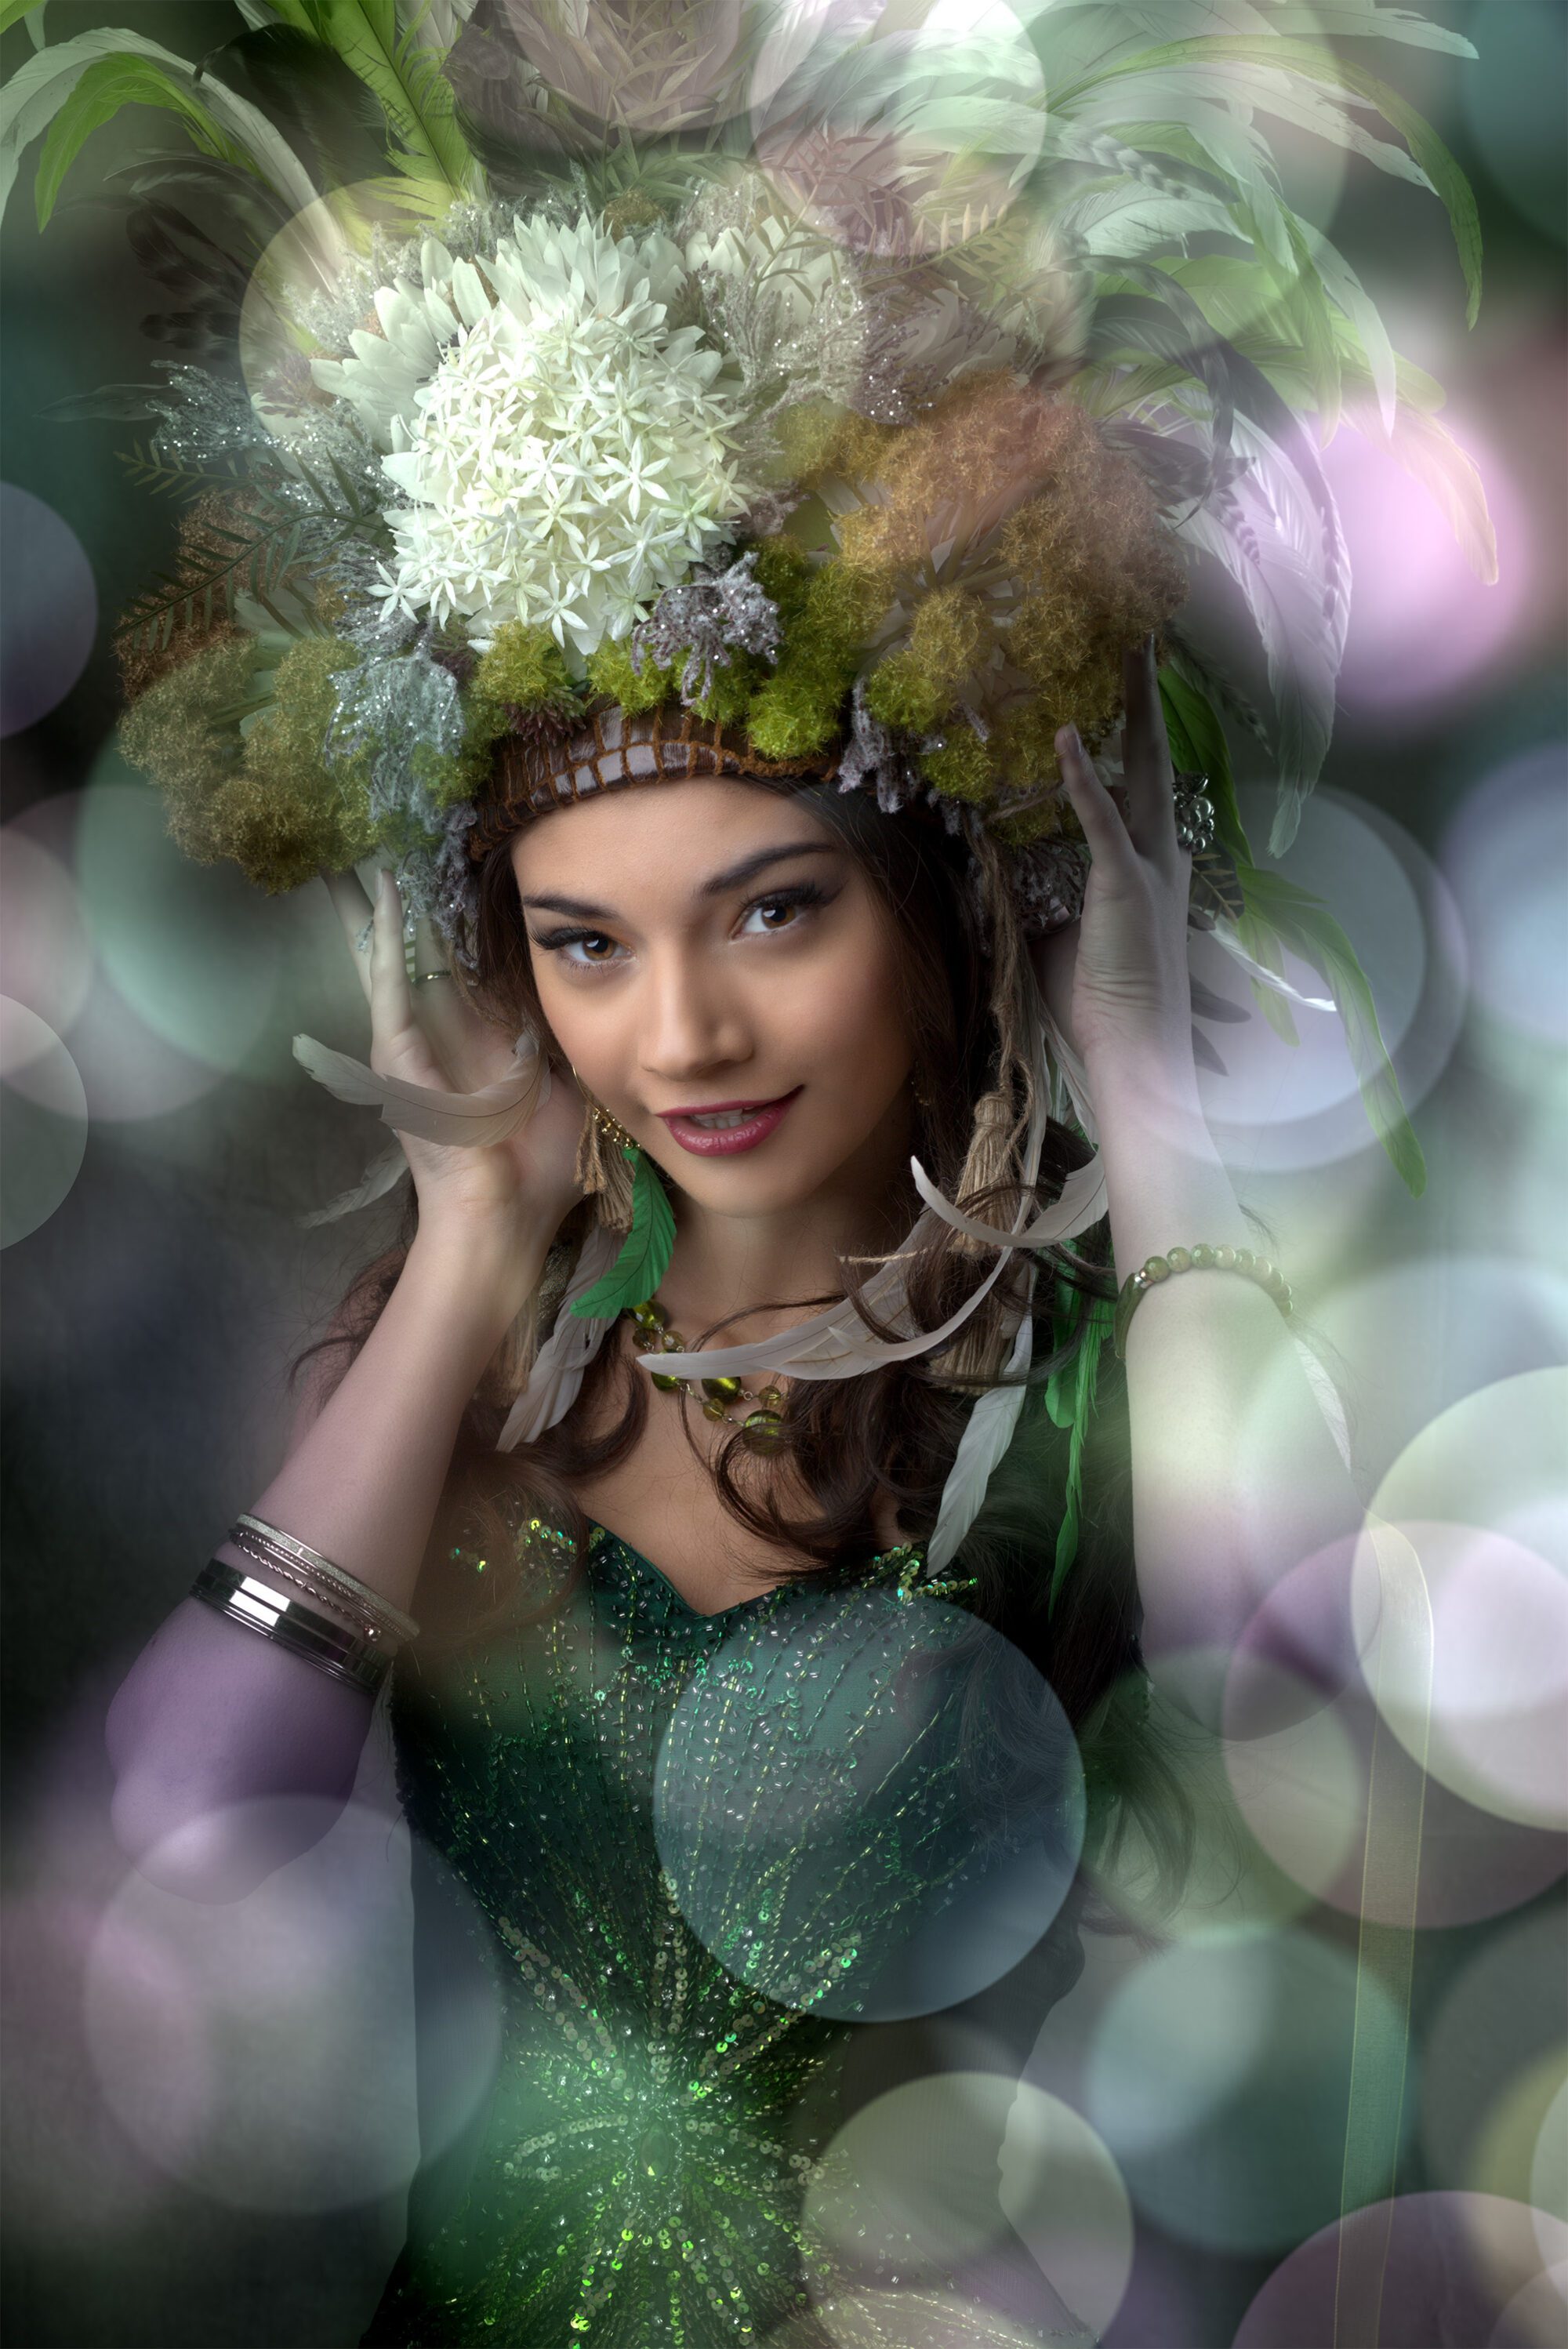
Behind the Lens: Portrait Shoot with Elle
Portrait photography is as much about connection as it is about technical precision. When working with Elle, our goal was to create a captivating image that highlighted her elegance while showcasing the interplay between light and shadow. Using the Sony A7R III and the exceptional 85mm f/1.4 lens, we set out to craft a timeless portrait with dramatic depth and creamy bokeh. The shoot was a blend of technical finesse and creative collaboration, with careful attention paid to lighting, posing, and storytelling.
Lighting Setup
To create a captivating portrait of Elle, we used a dramatic yet refined lighting setup that accentuated her features and added depth to the image:
- Key Light: A softbox was placed slightly above and to the side of Elle, providing a soft, flattering light that sculpted her face beautifully. The direction of the light emphasized her cheekbones and jawline.
- Fill Light: A reflector was used on the opposite side to gently fill in the shadows, maintaining contrast while ensuring the details remained visible.
- Back Light: A subtle hair light was positioned behind her to separate her from the background, adding a touch of elegance and dimension.
- Background: A dark, textured backdrop was selected to contrast Elle’s luminous skin and outfit, enhancing the focus on her.
Understanding the JPG Format
JPG files are compressed and lack the extensive data found in RAW files. This means editing must be done with precision to avoid degrading image quality further. Despite these limitations, software like Luminar Neo provides powerful tools to elevate your images.
Post-Production Workflow in Luminar Neo
Step-by-Step Tutorial
- Open Your JPG File:
- Import the JPG file into Luminar Neo and open it in the Edit module.
- Basic Adjustments:
- Use Enhance AI to make automatic adjustments:
- Accent AI: Boost overall contrast and clarity.
- Sky Enhancer: If applicable, use this sparingly to fine-tune the background tone.
- Adjust the White Balance manually to correct any color casts:
- Use the Temperature and Tint sliders to achieve natural skin tones.
- Use Enhance AI to make automatic adjustments:
- Color Correction:
- Go to the Color tool:
- Use the Remove Color Cast feature to neutralize any unwanted tones.
- Adjust HSL (Hue, Saturation, Luminance) to fine-tune specific colors. For example:
- Enhance the vibrance of warm tones to complement Elle’s skin.
- Desaturate greens or blues in the background for a more uniform color palette.
- Go to the Color tool:
- Adding a Bokeh Filter:
- Open the Portrait Bokeh AI tool:
- Set the Focus Depth to keep Elle in sharp focus while blurring the background artistically.
- Adjust the Amount slider to control the strength of the blur.
- Refine the bokeh using the Edge Correction slider to ensure smooth transitions.
- Open the Portrait Bokeh AI tool:
- Skin and Feature Enhancements:
- Use Skin AI and Face AI for subtle retouching:
- Smooth out skin texture naturally.
- Lighten and enhance Elle’s eyes using the Eyes slider.
- Adjust the Lips slider to boost their natural hue slightly.
- Use Skin AI and Face AI for subtle retouching:
- Creative Effects:
- Apply the Glow tool to add a soft, diffused glow to the image. This pairs beautifully with the bokeh for a dreamy effect.
- Use the Orton Effect to increase the cinematic quality of the portrait.
- Final Adjustments:
- Add a slight vignette to focus attention on Elle. Adjust the Feather slider to make the vignette subtle and natural.
- Fine-tune overall exposure and contrast to ensure a polished look.
- Export:
- Save your edited file as a high-resolution JPG, ensuring optimal quality for both online and print use.
Final Thoughts:
This portrait of Elle is a testament to the power of combining thoughtful lighting with skilled post-production. The gentle direction during the shoot allowed her personality to shine, while the precision editing in Luminar Neo enhanced the details, colors, and mood of the final image. Whether you’re a seasoned photographer or just beginning your journey, this approach underscores the importance of balancing in-camera craftsmanship with post-processing artistry. Every step, from lighting to editing, is an opportunity to elevate your work and bring your creative vision to life.
- Save your edited file as a high-resolution JPG, ensuring optimal quality for both online and print use.

